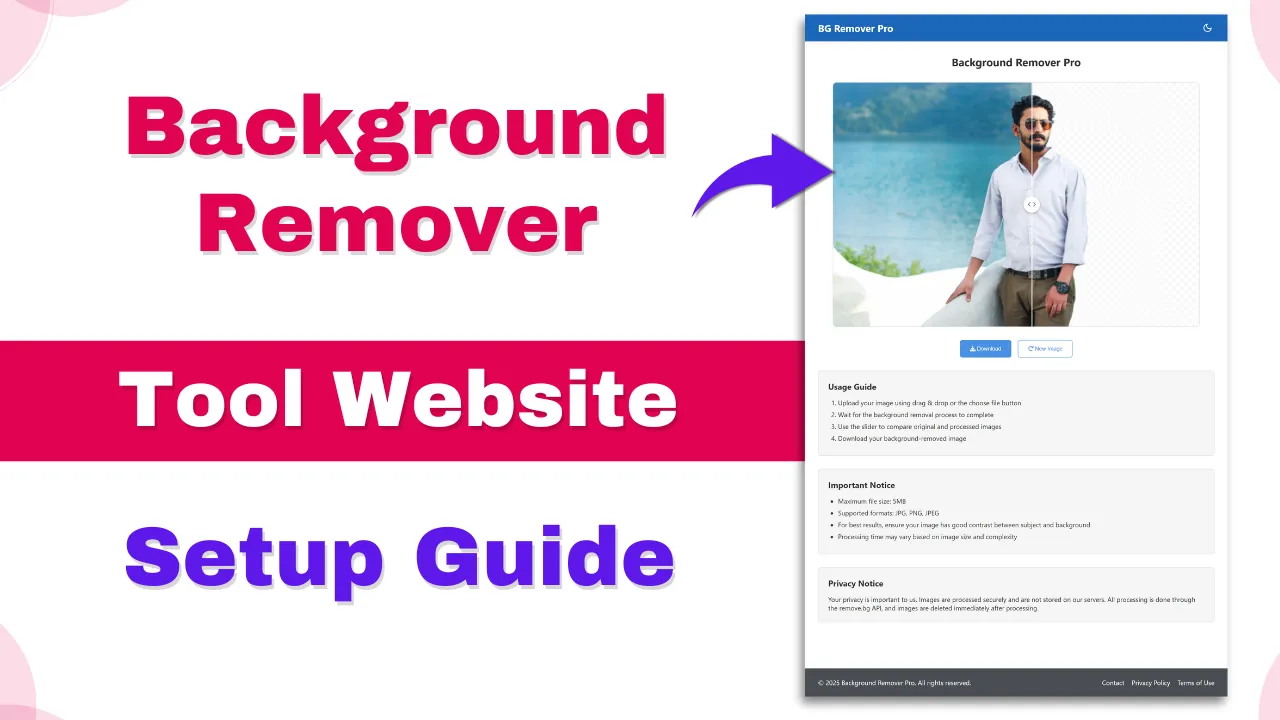
Welcome to the Background Remover setup guide! This powerful tool allows you to seamlessly integrate automatic background removal into your website using AI technology. Whether you are running an e-commerce platform, a photo editing service, or any business requiring clean, background-free images, this tool is perfect for you!
In this guide, we’ll walk you through every step of the installation, configuration, and customization process, ensuring that you can easily set up and start using the tool on your own hosting. Whether you’re a beginner or an experienced developer, our simple instructions will help you get the Background Remover running in no time.
If you encounter any issues or have questions, feel free to reach out to our support team. Let’s get started and bring your background removal service to life! 🚀
Background Remover Tool Website Demo Video: https://youtu.be/igSAEZf8yjQ
1. UPLOAD TOOL’S CODE TO YOUR HOSTING
Steps to upload the code:
a) Prepare Hosting Account:
Create a new directory/folder (e.g., background-remover) where you will upload the tool.
b) Upload Files:
Use an FTP client (e.g., FileZilla) or your hosting provider’s file manager to upload all the files in the tool’s folder to your server.
Ensure that the uploaded files are in the correct directory.
c) Edit .htaccess file in the background-remover folder:
Click Here to Know How to setup .htaccess file: Click Here
d) Update with Your API Keys:
Click Here to Know How to setup API keys: Click Here
e) Update Theme Colors:
Click Here to Know How to Update Theme Colors: Click Here
d) Verify Setup:
Once uploaded, visit your website URL to confirm the tool is functioning properly.
Click Here to Know How to Test After Completing All Steps: Click Here
.htaccess File Setup Process
Edit .htaccess file in the background-remover folder:
📌 Original .htaccess Code:
<FilesMatch "\.(js|css)$">
       RewriteEngine On
       RewriteCond %{HTTP_REFERER} !^https://(www\.)?YOUR_DOMAIN\.com [NC]
       RewriteRule .* - [F]
</FilesMatch>
🔄 How to Replace YOUR_DOMAIN
1️⃣ Replace YOUR_DOMAIN with your actual domain name.
2️⃣ Replace .com with your actual domain extension (e.g., .in, .org, .net, etc.).
3️⃣ Make sure to escape dots (.) with a backslash (\.) in the domain name.
✅ Example Replacements:
| Your Actual Domain | Modified Code Example |
|---|---|
example.com | https://(www\.)?example\.com |
mywebsite.in | https://(www\.)?mywebsite\.in |
shop.org | https://(www\.)?shop\.org |
inbdigital.com | https://(www\.)?inbdigital\.com |
🔧 Updated Code Example for inbdigital.com:
<FilesMatch "\.(js|css)$">
       RewriteEngine On
       RewriteCond %{HTTP_REFERER} !^https://(www\.)?inbdigital\.com [NC]
       RewriteRule .* - [F]
</FilesMatch>
✔ Then Save .htaccess file
API KEY Setup Process
To integrate AI-powered background removal into your website, you’ll need an API key from Remove.bg. Follow these simple steps to get your key and start processing images instantly:
a) Get API Key:
- Go to remove.bg
- Create an account or log in to your existing account.
- Navigate to Dashboard > API.
- Copy your API key from the API section.
b) Configure API Key:
- Open the
config.phpfile in the root directory of the tool’s code. - Locate the section marked
REMOVE_BG_API_KEYS. - Replace the existing API key(s) with the one you copied from remove.bg, or add additional API keys if you have multiple.
c) Important Notes:
- The free API plan provides 50 previews (requests) per month per API key
- To increase the limit, you can add multiple API keys from different Remove.bg accounts in
config.php - Upgrade to a paid Remove.bg plan for higher limits and faster processing
Update Theme Colors:
- Open the
public-assets/css/style.cssfile in the code directory. - Modify the CSS properties to change the theme colors to match your branding. You can customize:
- Background colors
- Button colors
- Text and link colors
- Header/Footer styles
Final TESTING
a) Upload a test image:
b) Use drag & drop to upload an image.
Or, click the “Choose File” button to select an image from your device.
c) Test the following features:
- Progress bar – Ensure the progress bar appears and works as expected during the processing.
- Image processing – Verify that the background is removed successfully.
- Slider comparison – Check if the slider comparison works to view the original vs. processed image.
- Download functionality – Ensure that the processed image can be downloaded by clicking the download button.
2. API USAGE NOTES
Free API Limits: 50 previews per month per API key.
To increase the usage limit, you can:
- You can add multiple API keys from multiple remove.bg accounts in
config.phpto increase the limit. - Upgrade to a paid plan on remove.bg for higher limits and additional features.
Monitor API Usage:
- Regularly check your remove.bg dashboard to monitor the usage and remaining quota of your API key.
- If you’re hitting the free limits, consider upgrading to a paid plan or adding more API keys.
3. SUPPORT
If you face any issues, follow these steps:
- Check error logs: If any errors occur, check the server logs for detailed error messages. These are usually available in your hosting control panel.
- Verify configurations: Double-check your
config.phpfile for any configuration errors, such as incorrect API keys or database connection details. - Test with different images: Try uploading a variety of images to ensure the tool is processing them correctly.
- Contact remove.bg support: For any API-related issues, reach out to remove.bg support through their official website.
- Contact INB Digital: For any issues specifically related to the tool’s code, you can contact INB Digital support at: Contact INB Digital
Developed by:
INB Digital: https://inbdigital.com/
This guide will help you set up and customize the Background Remover tool on your own server with ease. Should you encounter any issues during the setup, follow the troubleshooting steps or contact support for assistance. Happy background removing! ✨